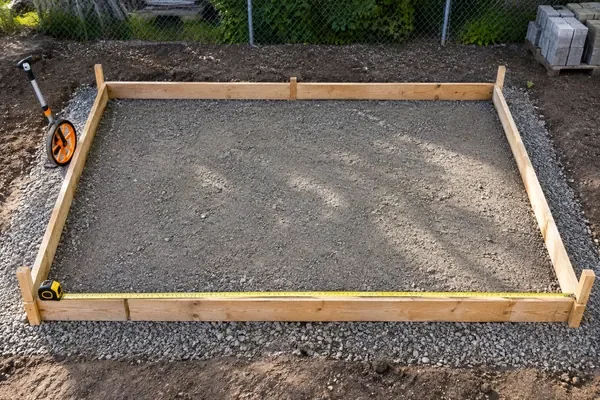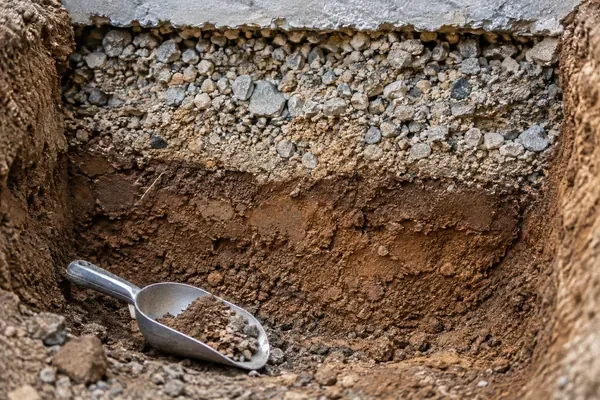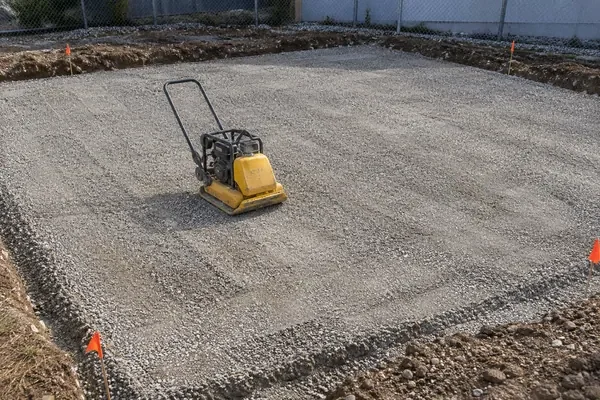
- Identify future floor use
- Confirm the specified layer order
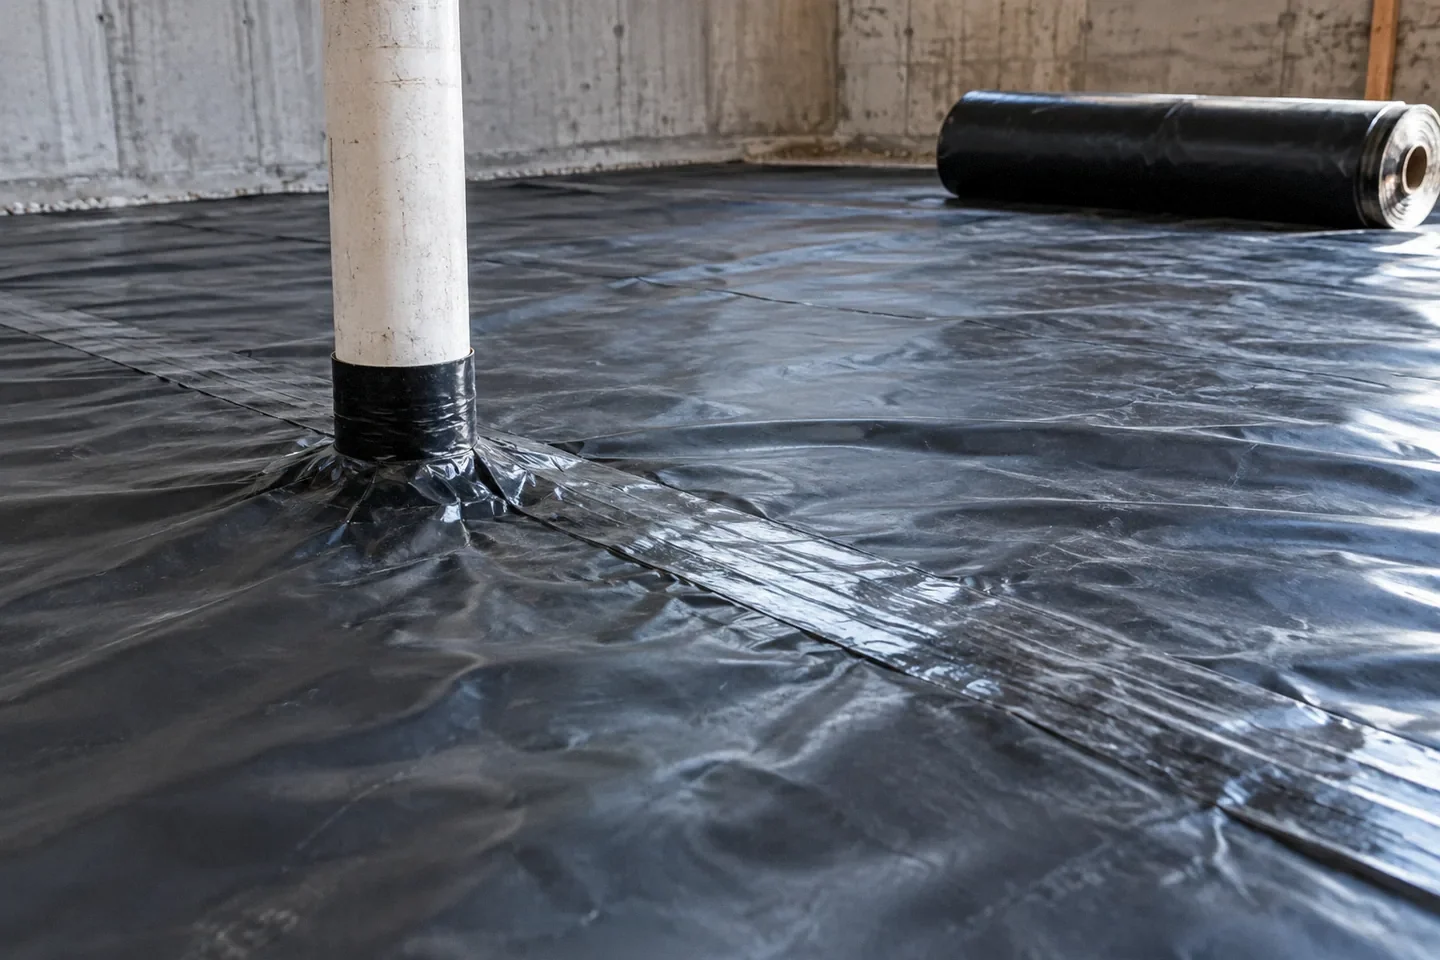
- Inspect seams and penetrations
Reddit discussions identify questions; technical guidance comes from the linked primary sources. This article is not a site inspection or an engineered specification. How we research.
A drawing of soil, gravel, plastic, and concrete looks simple until two contractors put the plastic in different places. The important question is what moisture-control function the assembly must perform and how the specified detail will be installed without gaps.
A Reddit question about placing a vapor barrier above or below gravel reflects this common confusion. The comments offered several explanations, but a project should not select its layer order by counting votes. Start with the slab's use and the applicable design.
Identify what will be above the slab
An open patio and an enclosed room with moisture-sensitive flooring present different questions. Also consider the intended future use. A space expected to become conditioned or receive flooring should not be evaluated only as an unfinished slab on pour day.
Tell the designer and contractor what floor finishes are planned. If the finish has moisture-related installation requirements, bring those documents into the discussion early.
NRMCA CIP 29 explains under-slab vapor retarders and the implications of their location. It provides technical context, but the actual project still needs a coherent assembly detail.
Keep vapor control separate from drainage
A vapor retarder is not a complete answer to bulk water, grading, or a missing drainage outlet. Ask separately how water is managed around and beneath the slab.
Likewise, a layer described as a capillary break does not automatically replace the specified membrane. Different layers can have different functions, and combining their names into “moisture protection” can hide omissions.
A useful drawing labels each layer and explains its role. If someone proposes removing or relocating a layer, ask which function changes and what evidence supports the revision.
Discuss direct contact and finishing together
Membrane location can affect the construction and finishing process. The installer should know the agreed assembly before selecting the mixture and placing sequence.
Do not solve a finishing concern by quietly adding an unapproved layer above the retarder. That change may alter the moisture behavior the design was intended to address.
Bring the designer, concrete installer, and flooring requirements into the same conversation where necessary. A detail that suits one trade while surprising another is more likely to create avoidable disagreement.
A hypothetical workshop conversion
Suppose an owner plans a detached workshop with bare concrete initially and resilient flooring later. The contractor treats it as a utility slab and proposes the membrane location used on unrelated outdoor work.
The future floor covering changes the questions. The team needs to review the moisture-control assembly, flooring requirements, and construction details before the slab is placed. Waiting until flooring installation leaves fewer options.
The owner does not need to choose a membrane by thickness alone. They need a documented product and assembly suitable for the intended use, including how seams and penetrations are treated.
This example does not prescribe a code requirement. It illustrates why a known future finish belongs in the initial slab discussion.
Inspect continuity before it becomes hidden
| Detail | Pre-pour question |
|---|---|
| Product | Does it match the specified membrane? |
| Layer position | Is it installed in the approved sequence? |
| Seams | Are overlaps and sealing consistent with instructions? |
| Penetrations | Are pipes and other interruptions detailed? |
| Perimeter | How does the membrane terminate or connect? |
| Damage | Are punctures repaired with the appropriate system? |
| Placement access | How will workers and supports avoid unnecessary damage? |
Take photographs that show both broad coverage and details. A wide photograph of a large sheet does not reveal how a pipe penetration or torn corner was treated.
Inspect at an appropriate point in the sequence. If reinforcement or equipment later changes the membrane condition, perform another review before placement.
Specify the product rather than just saying plastic
“Plastic under the slab” does not identify durability, permeance, seam treatment, or compatibility with the intended assembly. Use the required product information and installation instructions.
Do not assume that an arbitrary thickness guarantees every needed property. The project specification may address a recognized standard or performance requirements in addition to nominal thickness.
Retain the product label and relevant documentation. If a substitution is proposed because the specified material is unavailable, evaluate it explicitly rather than accepting a roll that merely looks similar.
Plan around supports and penetrations
The membrane must coexist with reinforcement supports, plumbing, conduits, and construction traffic. Ask how the sequence prevents avoidable damage and who repairs any damage found before pouring.
A pipe installed late can interrupt an otherwise completed membrane. That is a coordination problem, not a reason to ignore the seal around it. Identify the responsible trade and repair method in advance.
Avoid improvised sealants or tapes unless they are appropriate for the membrane system. A material that sticks temporarily in dry conditions is not automatically an approved permanent detail.
Preserve the decision record
Keep the assembly drawing, product information, approved changes, and pre-pour photographs together. Those records will be useful if future flooring work raises moisture questions.
Do not promise that the membrane guarantees a dry surface at a particular age. Moisture within new concrete and flooring readiness involve additional considerations and applicable tests.
The practical action is to settle the slab's current and future use, confirm the specified assembly, and inspect continuity before concrete conceals it. The layer order should be the result of that process.
Frequently asked questions
Does the membrane belong above or below the gravel?
Follow the approved detail and product guidance. Resolve any proposed change with the responsible designer, particularly where moisture-sensitive finishes are planned.
Does every outdoor patio need the same membrane?
No. Evaluate its use and requirements rather than copying an interior-floor detail or assuming no exterior project can require one.
Research references
- primary · full
NRMCA CIP 29 Vapor Retarders Under Slabs on Grade - reddit · search-excerpt
Vapor barrier under gravel or on top ?