- Map the puddle footprint
- Record the drainage destination
- Review the proposed elevation change
Reddit discussions identify questions; technical guidance comes from the linked primary sources. This article is not a site inspection or an engineered specification. How we research.
Observe the whole drainage route
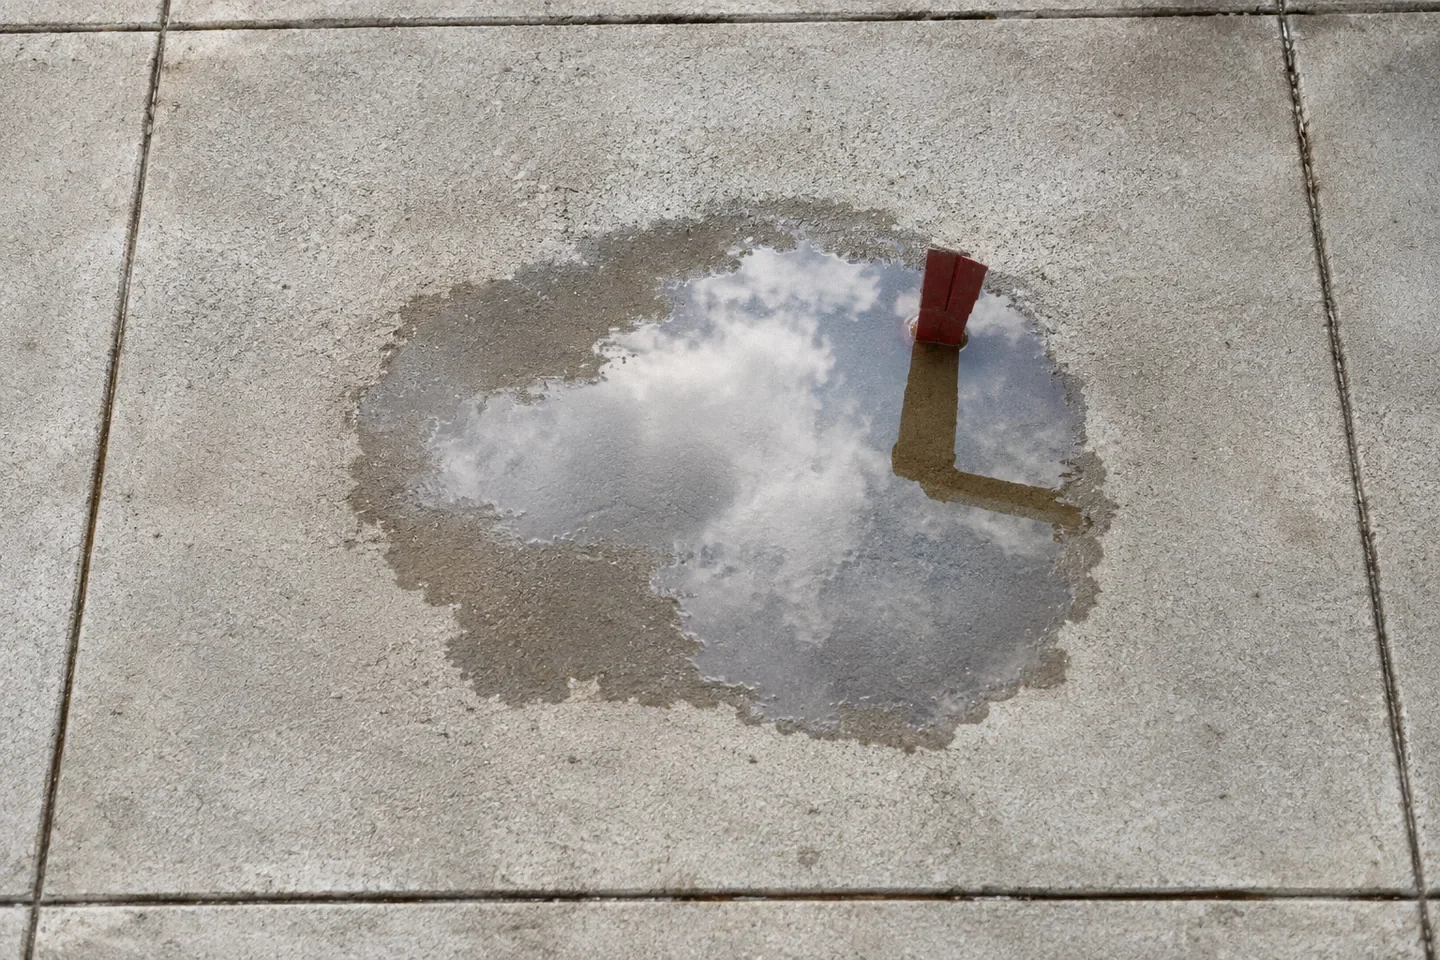
A puddle is the visible endpoint of water movement across the patio. To understand it, look beyond the wet patch. Where does water arrive, what surfaces direct it there, and where is it supposed to leave? Include downspouts, steps, walls and adjoining ground in the observation.
A Reddit homeowner reported water remaining on a newly poured patio and asked about fixes before discussing the issue with the contractor. Another thread combined pooling with surface concerns. These questions show why the complaint should be documented precisely. They do not establish an acceptable puddle depth for every installation.
Make a map that the contractor can use
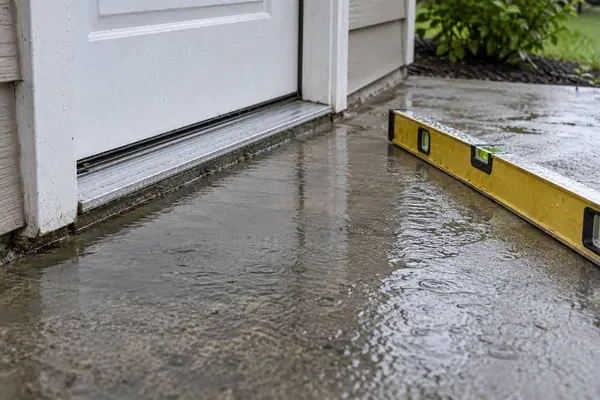
Draw the patio outline and mark doors, steps, walls, joints and the intended drainage edge. Outline the puddle after an ordinary rain. If safe and practical, photograph a scale at a representative point, but do not assign a precise depth from an angled photograph. Record how the measurement was taken.
Take a wide photograph as well as details. Note the time rain ended and when later photographs were taken. Record sun or shade because evaporation can differ across the area. A puddle that disappears in sun has not necessarily demonstrated effective drainage; it may simply have dried.
Avoid repeatedly flooding a newly placed slab to prove the problem. Follow the installer's care instructions and document ordinary weather when possible. If a controlled water test is proposed, agree on its purpose and method with the contractor.
Distinguish a texture depression from a larger low area
A stamped or textured surface contains small variations that differ from a broad depression affecting the panel. The assessment should consider the finish actually specified. A phone image can make shallow reflections look dramatic or hide a meaningful low area, so an on-site elevation review may be necessary.
Ask whether water is trapped by a local high edge, a step transition or the overall slope. These distinctions change the repair. A proposal should explain the geometry in plain language and show where water will flow afterward.
NRMCA CIP 4 includes proper drainage among the considerations for slab construction. It does not provide a universal residential puddle-acceptance rule. The applicable project documents, finish and intended use need to guide the review.
Describe the effect on use
Does the puddle block the main route to a door? Does furniture sit in it? Does it direct water toward the building or keep a repair area repeatedly wet? These practical consequences help the contractor understand why the condition matters.
Separate the drainage concern from unrelated appearance complaints. A patio can look attractive and still have an unwanted low area; it can also have color variation without a drainage defect. Listing the issues individually makes it easier to obtain a complete response.
If water reaches a building opening or other sensitive area, describe that clearly and request an appropriate review. Do not reduce the concern to whether the puddle eventually evaporates. Its location and consequences can matter as much as its persistence.
Compare repairs by the elevation change they make
A proposed treatment should explain what height changes, what remains and where the outlet will be. Options such as localized correction, a suitable topping, a drainage feature or replacement require different site conditions. Do not assume any one is automatically available.
For a bonded material, confirm its approved thickness, exterior use and substrate requirements with the manufacturer. ARDEX CD technical data illustrates why a thin dressing should not be treated as an unlimited slope-building material. The actual selected system may differ and must be evaluated on its own instructions.
For cutting or grinding, ask about the effect on finish, joints and embedded items. A narrow groove may create a new visible feature without resolving the full depression. The contractor should show why the proposed change will produce the intended drainage result.
A useful review checklist
- Puddle footprint and measured observations.
- Time after rain and comparable weather context.
- Intended outlet and actual water route.
- Relationship to doors, walls, steps and circulation.
- Finish type and project drainage requirements.
- Proposed change to elevations or collection route.
- Expected appearance and method of checking the result.
Ask the installer to respond to the map rather than only to one close photograph. If the proposal is a repair, agree on how the completed work will be reviewed before the original evidence is altered.
A hypothetical new-patio review
Imagine a hypothetical patio where a puddle remains beside the steps after rain. The owner assumes the entire slab slopes backward. An elevation review instead identifies a localized depression and explains its relationship to the surrounding surface. That finding allows a more focused comparison of suitable repair options.
In another location, the review may show that the intended outlet is too high relative to the rest of the patio. A small patch would not answer that geometry. The owner needs a broader correction plan. Similar photographs of standing water can therefore lead to different scopes once elevations are understood.
Put the repair objective in writing
State the area to be corrected, the intended water route and the expected finish. Avoid an undefined promise that the patio will never hold any water under any condition. Also avoid accepting a purely cosmetic treatment as a drainage repair. A useful agreement describes the actual improvement and how it will be checked.
Keep the before-and-after map and photographs. If the result does not match the stated objective, that record makes the next discussion concrete. The best first step is a measured, contextual account of the low area, followed by a repair that explains how water will leave it.
Related questions
How long can water remain before a patio is defective?
There is no universal answer for every finish, contract and exposure. Use the project requirements and an on-site review of drainage and use.
Will a sealer make a low spot drain?
A sealer does not by itself change the surface elevations that create a depression. Ask what physical change the proposed drainage repair will make.
Research references
- primary · full
NRMCA CIP 4 - Cracking Concrete Surfaces - primary · search-excerpt
ARDEX CD Technical Data - reddit · search-excerpt
Water pooling on new patio - reddit · search-excerpt
Patio help. Scaling, pooling water, discoloration… need advice